Thursday 26 September 2013

Painting the panels

Not too much to say other than I sprayed epoxy primer onto all the stripped panels and here are some pictures! I sprayed them in two sessions over two weekends: first the insides of all the panels, then the outsides.

I think that there will be one more round of blasting and spraying later in the build. I still intend to paint the wheel rims, the lower grill panel and a host of small parts such as door hinges.


Thursday 5 September 2013

Last of the blasting (well almost)

I've now completed the first (and biggest) round of blasting and it was nice to pull all the bits out of the workshop and give it all a clean. My plastic tent makes a lot of difference and contains the grit well but the fine paint dust gets everywhere.

Apart from the odd little repair the remaining panels are in good shape.

Two engine covers
Two mudguards
Two outer guards
Two lower engine cover panels

Sunday 1 September 2013

Cab front panel

The panel that forms the whole front of the cab below the windscreen is the worst part of my new cab. It is dented on one corner, repaired in the middle and rusted along the lower edge. For this reason I plan to replace it with the panel from the old cab which seemed to be better.

Removing it was no mean task with nearly 200 spot welds to drill out!


The panel is quite solid but after stripping I found that quite a bit of repair work lurked under filler. I still think that it is better than the alternative.

Both the front lower corners have small rusty areas.

Rust holes with outline for patch panel drawn.

Cut out for patch and new metal welded in. If you have not discovered flap wheels (on a small grinder) for dressing welds they are simply brilliant: far better and quicker than a grind wheel.


The other rust area is in the middle where the Bedford badge bolts on. There is a moisture trap behind the badge where a reinforcing bar is attached.
For this I cut a repair section from the other cab, bolted it on using the badge mounting bolts to align it and then drew around it.


Cut the rusted section out and use the magnets to align the patch.
Spot weld in place
Finish weld and dress with a flap wheel. I welded small sections and cooled the panel with the airline between each but there is still a distinct warp in the panel caused by the welding. I spoke to a local business who restore classic cars and their guy seemed to think this not a great deal. He said it was bound to do that and it would be simple enough to fix by shrinking but best to leave that until it is attached to the cab because the panel is quite floppy on its own.


Thursday 22 August 2013

Front Quarter Panels


The small front quarter panels where the headlights mount were in good condition on the original cab although they took quite a bit of drilling and cutting to get off. I'm pretty sure they are replacement panels.

After stripping and knocking out some minor dents there was one repair job to do.


The lug that bolts the panel to the grill bar was missing and the panel has been welded to the grill bar. It should look like this:


I used the good side to make a template (it's a mirror image!)


Then welded in place.


Thursday 8 August 2013

Inner door skin repairs

Both doors had a small area on the lower corner of the inner to repair.


This I patched in the same way as the outer but changed the MIG wire (and tip) from 0.8mm to 0.6mm. This makes a lot of difference because it allows the MIG to run at its lowest power and makes welding thin sheet a lot easier and neater.

One of the doors had further damage that needed repair:

The door stay had been ripped out of the door bending and cracking the inner panel that strengthens the hinge. Without the door stay, the door will get damaged the first time the wind catches it so it needed repair. I cut out a section of the door jam with the grinder and hammered the damaged metal back into place.


Then I welded up the cracks and put a bead right around the hole to thicken and strengthen it.


Then I welded the cut section back.
A couple of other cracks needed welding up.


The completed door.


Monday 29 July 2013

Patching sheet metal.

After blasting I found rust holes on both the inner and outer skins of the first door. Using a 1mm cutting disc I removed the damaged area. I left the edge of the door in place because it seemed sound and because it is formed around a radius which would have been difficult (for me) to repeat.

Here is the hole I cut together with the piece that came out. Repairing the rusty inner parts of the door would have meant much more cutting and I'm not sure of the benefit. After a bit of head-scratching I blasted it clean and gave it a coat of the rust paint.


I used the damaged cut-out as a template for a new piece of 18 swg steel. The welding magnet does a great job of holding the the patch flush with the surface.


Out with the trusty MIG and a grinder fitted with a flap-wheel and a result that I'm very satisfied with. It will take very little filler to finish that ready for paint


Wednesday 24 July 2013

Stripping the doors

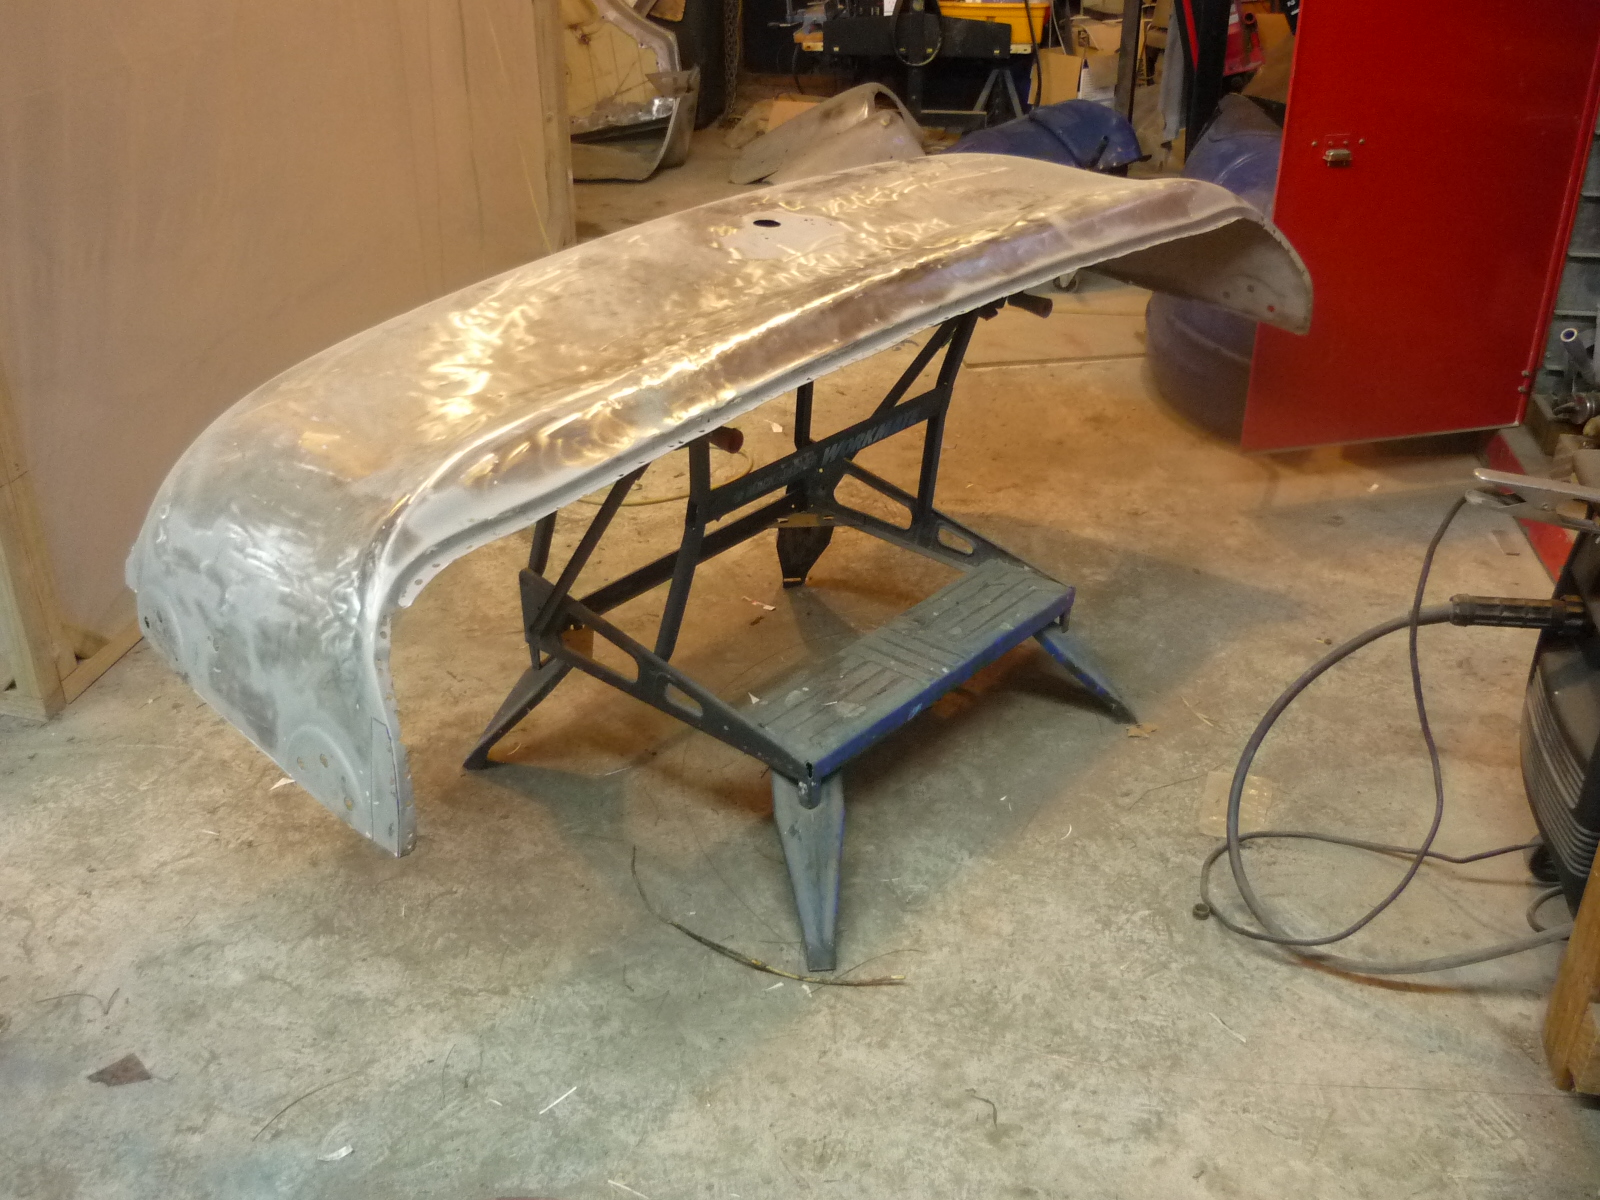
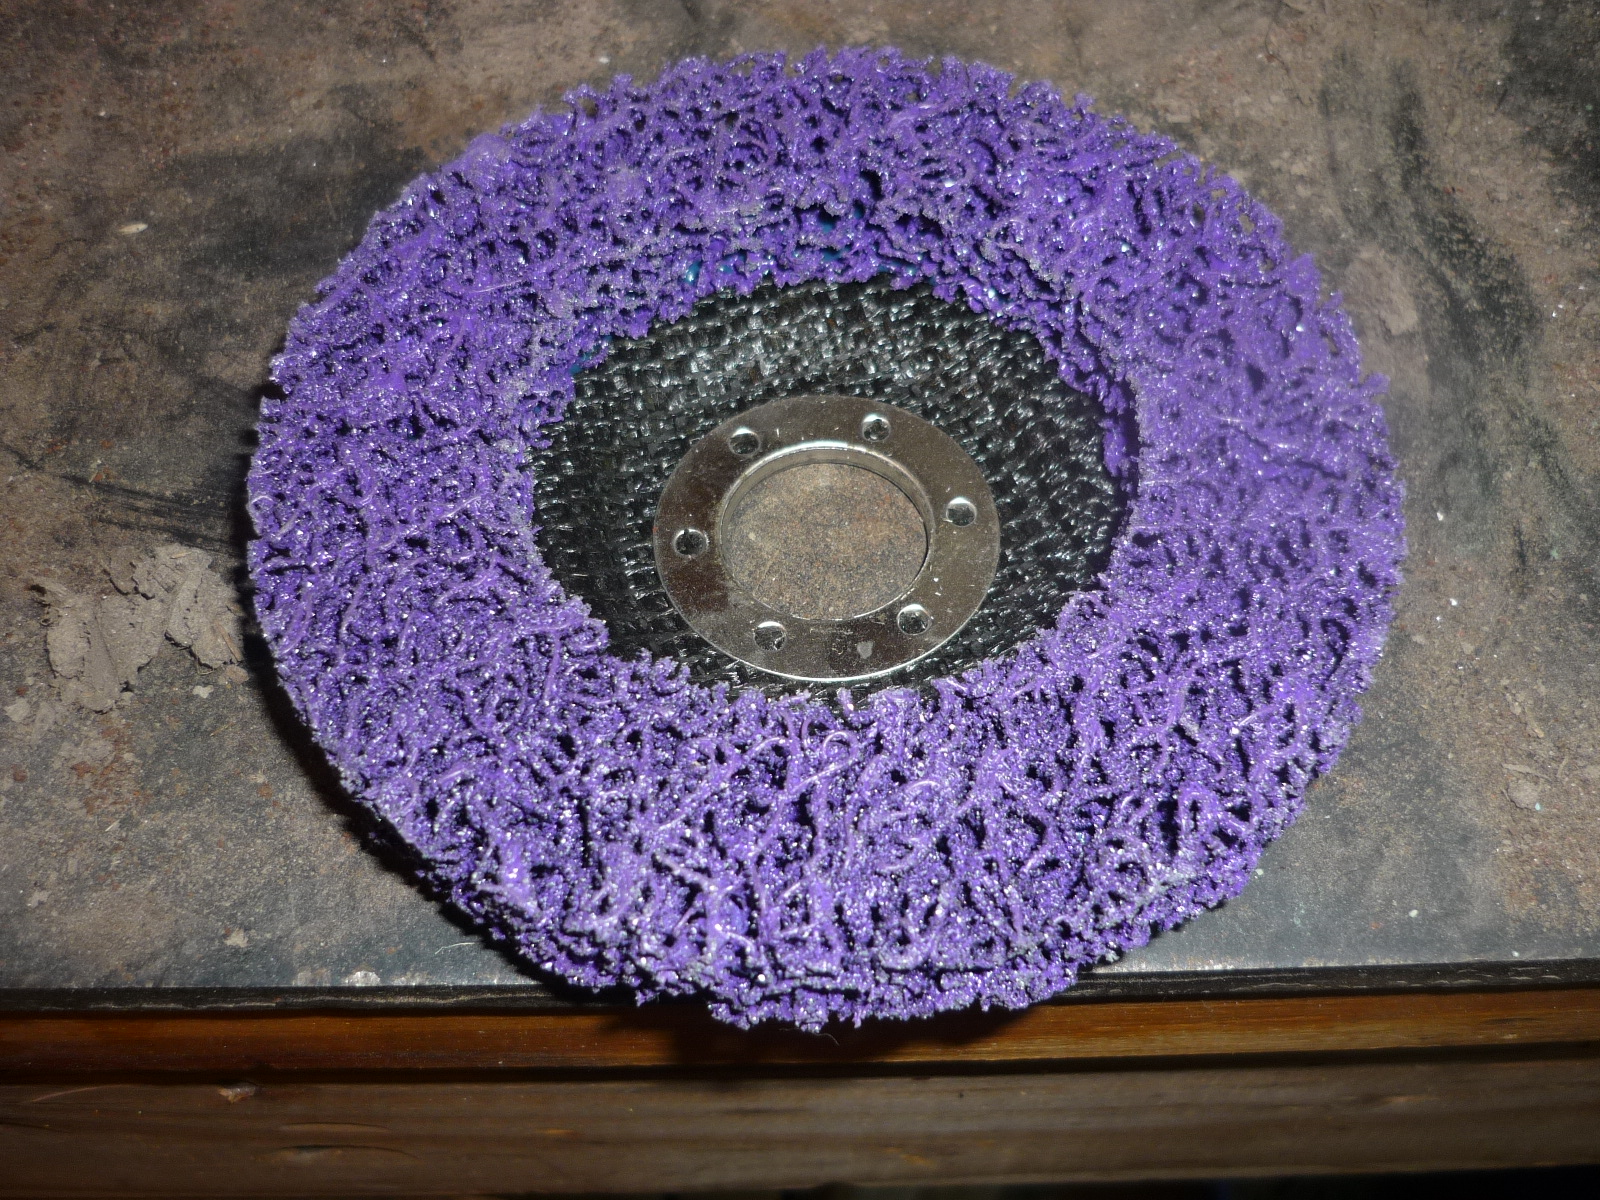
The sandblaster was making very heavy weather of the cab doors so I have changed my approach and used these pads on my grinder quickly to remove large flat areas of paint.


These do a great job as long as you remember to move about so that heat does not build up in the panel. The first door is pretty much rust free.


Some of the internal paint is fine and will never be seen again once the door trim is on so I didn't bother stripping that. I'll just rough is up and paint over it. I will tidy up the tricky bits with the blaster.

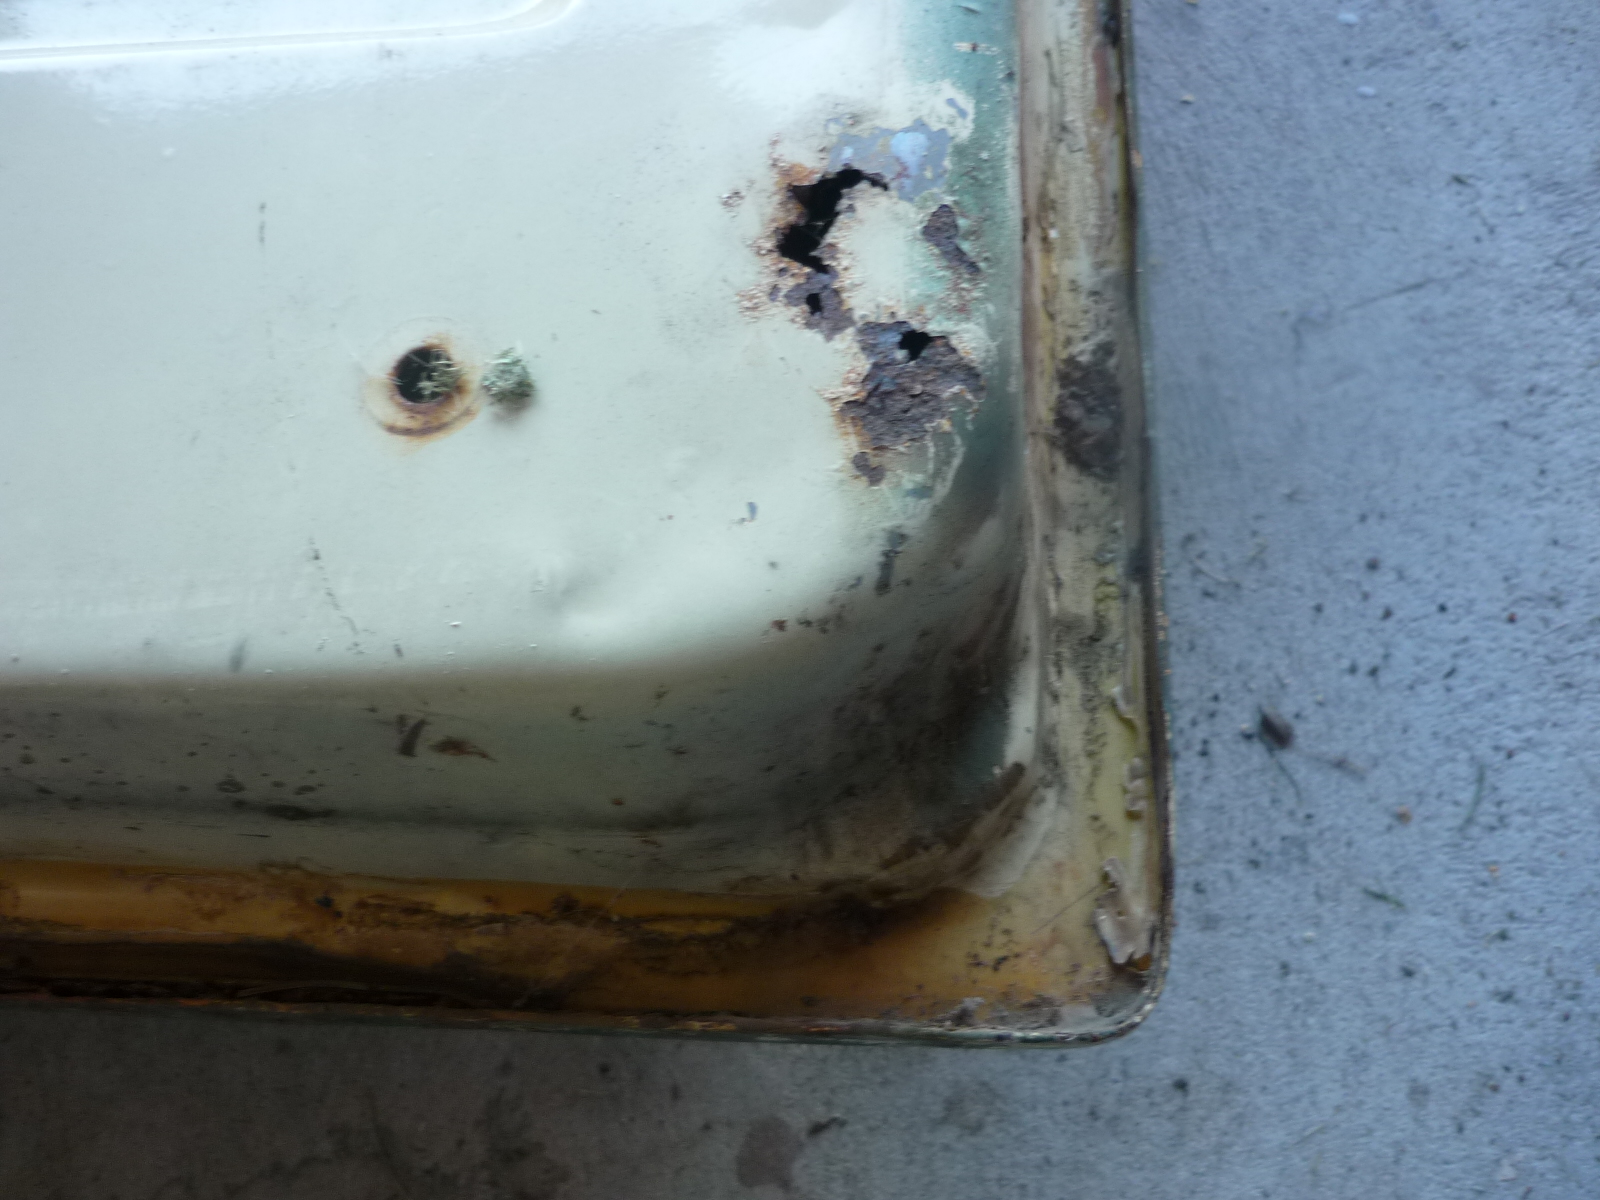
The only repairs needed are on the inside front lower corner.


Once I had cut this out you can see a rust trap created by the inner panel that carries the door hinge captive nuts.

Although the inner brace it rusted away below the hinges it is all still very solid so I am not going to worry too much about repairing it. The card on the left is my repair template for the inner door. There are also some other tiny holes in this area which I am not sure how to deal to best so I have run a drill through them for now:


I found this nice clip from a chap in Australia who calls himself Desertrodder

http://www.youtube.com/watch?v=BVs4AkKQ4iQ

It covers almost exactly the repair I need to make.


Thursday 6 June 2013

Starting the doors

After rather a long break I have started work on all the panels that need the same treatment as the cab: blasting and priming. I have bought some more plastic and clips so that I can seal my plastic tent better to try and stop the blasting sand getting everywhere. There are a number of panels to do and I think I can complete them in two batches.

The original doors are very rusty; the mirror mounts had pushed right through the door skin so last time I was at the wreckers I bought a couple of better ones.

My understanding is that there are two styles of door. These later ones have two mirror mountings: top and bottom. The early doors had mirrors on a single arm and only one mounting.

I dismantled and photographed the doors.

They came apart quite easily and of course I will have another set of parts from the original doors. It would be nice to get new rubbers but I have not seen any for sale. I scan eBay regularly for TK parts and although there are always plenty of bits for sale the actual range of components is quite limited. Windscreen rubbers are easily available but the rest are not.

Once the blasting and priming is complete I will move on to any welding and rust repair that is needed. These were the best doors I could find but still some minor rusting on the inner skin. It will be interesting to see what they look like after blasting.


Sunday 21 April 2013

Cab Complete

After a bit of a gap in my blog I can now report that the blasting a priming of the cab is complete and I have moved it into another shed while I make a start on doing the same to all the other panels.


I have blasted and painted all of the cab except:


  • The front panel which is quite rusty and damaged. I intend to replace it with the one from the old cab which is much better.
  • Some of the interior such as the rear firewall and parcel shelf which were painted and showed no signs of corrosion. There simply didn't seem to be any point in stripping and re-painting these; they are going to have carpet glued to them anyway.

Monday 25 March 2013

Painting the roof

Before I went for a week's holiday in sunny Hawke's Bay I blasted and painted the roof. I was pleased to find virtually no rust in the joint where it is welded to the gutter.


The gutter joint on the original cab has completely blown apart with rust and would be almost impossible to repair which was the main reason for getting the new cab. After blasting I gave the gutter a couple of thick coats of the urethane anti-rust primer before spraying with epoxy. I can report that resealing the black primer can with a layer of food wrap worked well; there was no sign of the paint setting and the lid came off easily.


I discovered that for a large area like this, my standard 1.4mm gravity gun really struggled to get enough paint on evenly. The epoxy primer is quite thick and whereas it was fine spraying a narrow pattern as soon as I opened the fan up hardly any paint came out so the end result although acceptable is a bit rough and uneven. The data sheet for the primer recommends airless spray, brush or roller above conventional spraying and this is why I guess. Next time I have some mixed up I will try thinning a little more and add another coat to see how it goes. I intend to spray the whole thing with a high build primer when I come to painting anyway; this layer is really just to seal the surface.

Monday 4 March 2013

Tin Bashing

After blasting the roof panel clean I was pleased to find that there was no significant rust but it was much more dented than I had thought. The large dents along the back I had already popped out and I am not too worried about them anyway because the body that will go back on has a Luton so the cab roof is pretty much hidden from that angle. However, the front edge of the roof will show and had numerous dents so after a few hours at the University of YouTube I went to our local second hand shop and bought some tools.


...and set to making a lot of noise. I also used a rubber mallet with a rounded head for knocking the bigger dents roughly into shape. The best combination for this job seemed to be the red hammer which as quite a crown to its faces and the mushroom shaped dolly. The technique is to run a sanding board with 40 grit emery over the surface to reveal the high spots and low spots, then work on them with hammer and dolly, then repeat.

The panel and its dents did not photograph well but here is the end result.


I'm sure a real panel beater would scoff at my efforts but the result is a great improvement from where I started so I'm pleased enough. I think that a thin skim of filler will give an acceptable result.