Sunday, 19 January 2014

Back to the cab III

Another job that needed tackling was to repair some rust in the can floor just under the handbrake lever.


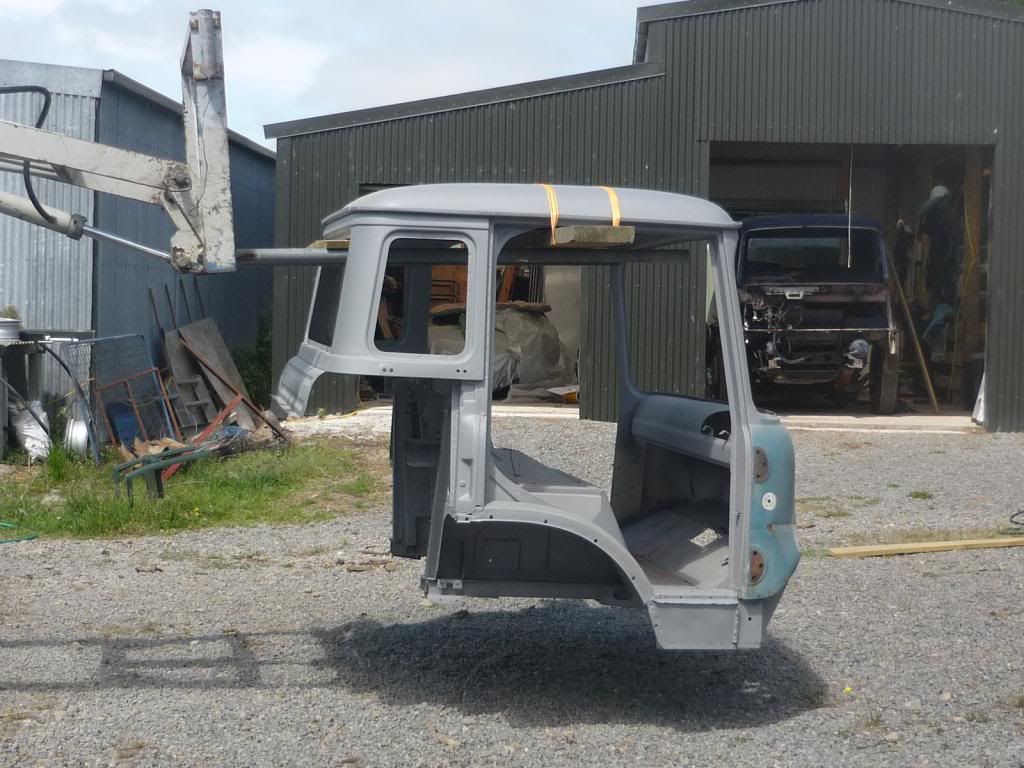
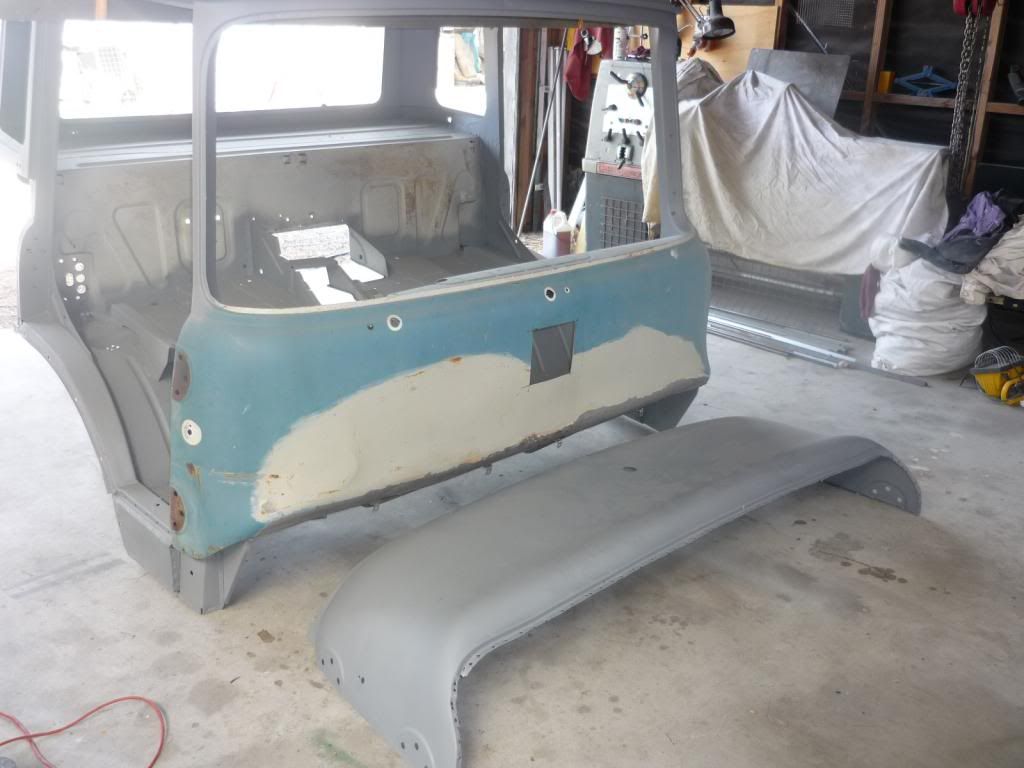
Again, the old cab supplied a suitable patch


Drop the 'new' panel in place :


Draw round it and cut out :

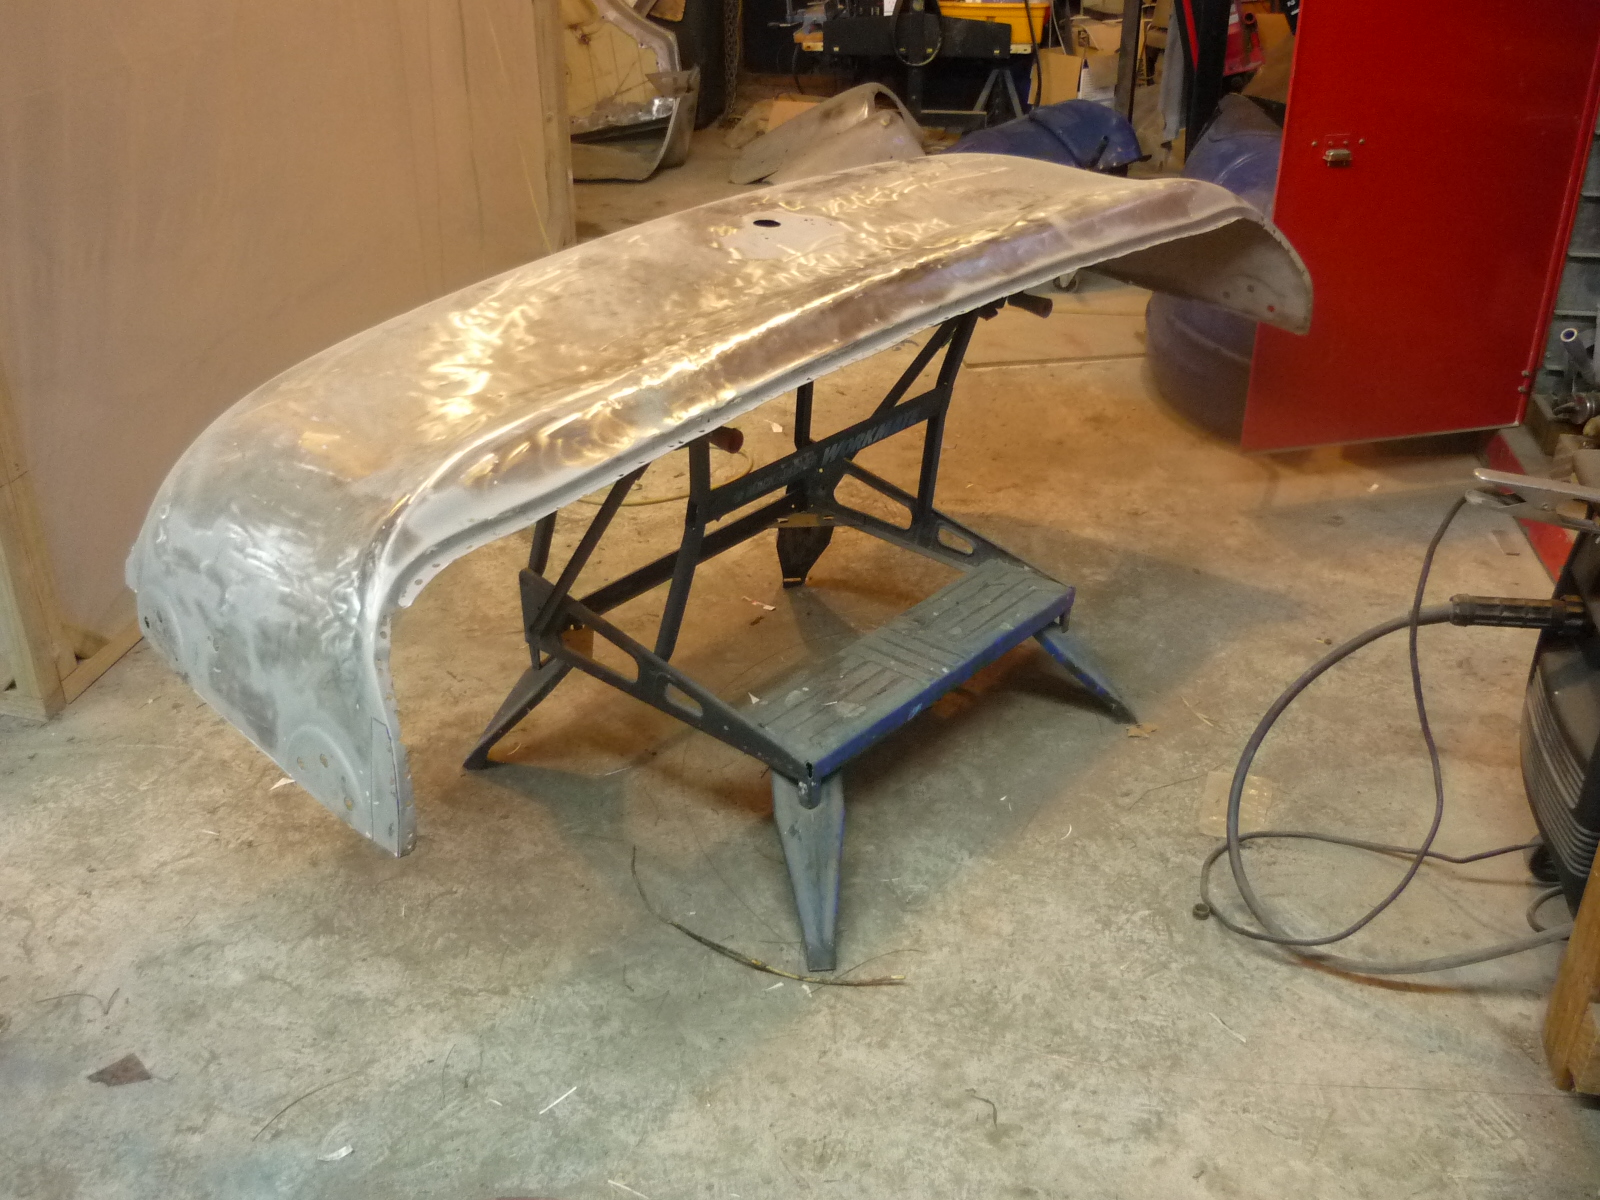
Weld and dress with a flap wheel

This was NOT one of my better efforts! I got a bit over enthusiastic with the flap wheel which made the edges of my patch very thin and then I burned through when adding some more weld. It doesn't show in the photo but the underside is a bit gnarly. Lucky it's only in the wheel arch and can easily be hidden.


Thursday, 16 January 2014

Back to the cab II

First job in replacing the front panel was to cut the old one off. I didn't need to keep the old panel so I cut it off roughly with the grinder and then removed the remaining flange with a grinder rather than drilling the spot welds. This leaves the remaining flange nice and solid without holes which I hope will make attaching the new one easier.


With the front panel removed I took the opportunity to clean the threads on the captive plates that the door hinges attach to.

It would be much easier to repair or replace a thread now rather than later.

It seemed silly not to blast clean the bits exposed by removing the front: the door pillars and the back of the dashboard.


Sunday, 5 January 2014

Back to the cab

With the panels painted I stored them away and fetched the cab back into the workshop.


The next task is to replace the rusty, dented front panel with the one that I cut off the old cab and repaired. The existing panel is rusty all along the lower front edge and it has a dent in one corner that has thrown up a crease. I could not see an easy way to pull the corner out so I decided to replace the whole panel.


The 'new' panel is rust-free but has plenty of repair work so it will take quite a bit of work to make it look reasonable. I wish I had bought this one that was on eBay a few months ago...


Thursday, 26 September 2013

Painting the panels

Not too much to say other than I sprayed epoxy primer onto all the stripped panels and here are some pictures! I sprayed them in two sessions over two weekends: first the insides of all the panels, then the outsides.

I think that there will be one more round of blasting and spraying later in the build. I still intend to paint the wheel rims, the lower grill panel and a host of small parts such as door hinges.


Thursday, 5 September 2013

Last of the blasting (well almost)

I've now completed the first (and biggest) round of blasting and it was nice to pull all the bits out of the workshop and give it all a clean. My plastic tent makes a lot of difference and contains the grit well but the fine paint dust gets everywhere.

Apart from the odd little repair the remaining panels are in good shape.

Two engine covers
Two mudguards
Two outer guards
Two lower engine cover panels

Sunday, 1 September 2013

Cab front panel

The panel that forms the whole front of the cab below the windscreen is the worst part of my new cab. It is dented on one corner, repaired in the middle and rusted along the lower edge. For this reason I plan to replace it with the panel from the old cab which seemed to be better.

Removing it was no mean task with nearly 200 spot welds to drill out!


The panel is quite solid but after stripping I found that quite a bit of repair work lurked under filler. I still think that it is better than the alternative.

Both the front lower corners have small rusty areas.

Rust holes with outline for patch panel drawn.

Cut out for patch and new metal welded in. If you have not discovered flap wheels (on a small grinder) for dressing welds they are simply brilliant: far better and quicker than a grind wheel.


The other rust area is in the middle where the Bedford badge bolts on. There is a moisture trap behind the badge where a reinforcing bar is attached.
For this I cut a repair section from the other cab, bolted it on using the badge mounting bolts to align it and then drew around it.


Cut the rusted section out and use the magnets to align the patch.
Spot weld in place
Finish weld and dress with a flap wheel. I welded small sections and cooled the panel with the airline between each but there is still a distinct warp in the panel caused by the welding. I spoke to a local business who restore classic cars and their guy seemed to think this not a great deal. He said it was bound to do that and it would be simple enough to fix by shrinking but best to leave that until it is attached to the cab because the panel is quite floppy on its own.


Thursday, 22 August 2013

Front Quarter Panels


The small front quarter panels where the headlights mount were in good condition on the original cab although they took quite a bit of drilling and cutting to get off. I'm pretty sure they are replacement panels.

After stripping and knocking out some minor dents there was one repair job to do.


The lug that bolts the panel to the grill bar was missing and the panel has been welded to the grill bar. It should look like this:


I used the good side to make a template (it's a mirror image!)


Then welded in place.