Thursday 30 January 2014

Removing a 'mystery' bracket

There was a bracket on the back of the cab which I had no idea what it was for.


Turns out, (with thanks from the good people on Truck and Bus forum that this where the hydraulic jack was stored.

I don't have the jack and I will probably store one in a side locker on the body so I cut it off.


And by the magic of welding, grinding and painting it was gone

The reason for this butchery was because I can use the space to remount the power steering reservoir in a nice easily accessible place. It was mounted closer to the engine before


Musings : grit blasting

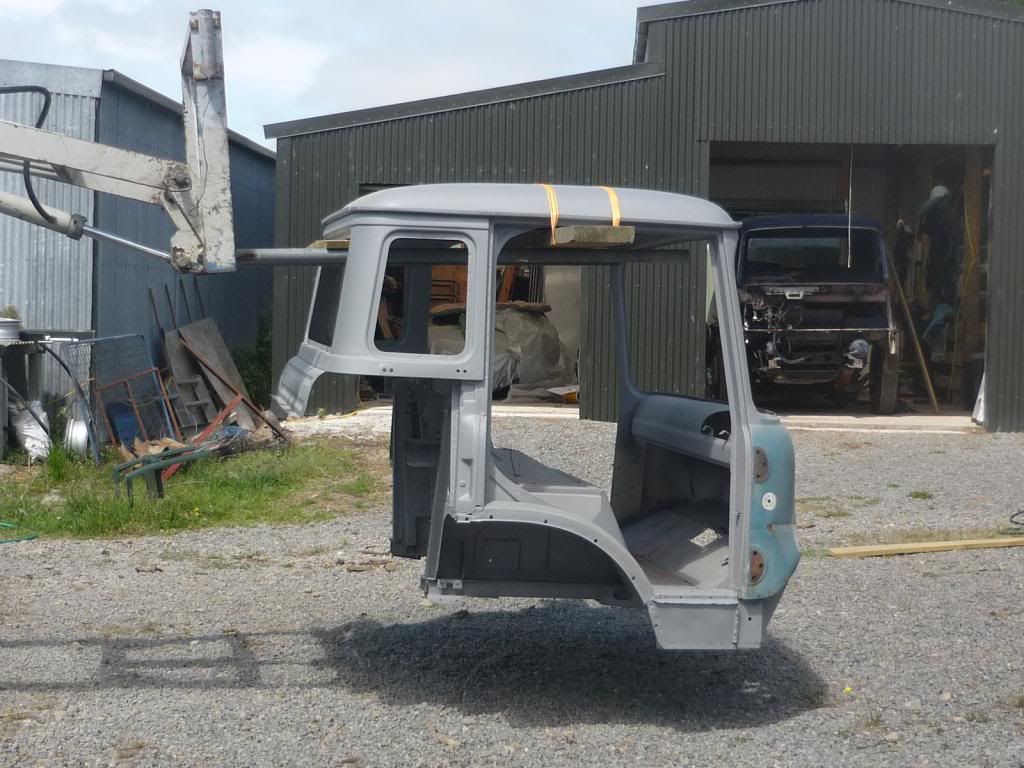
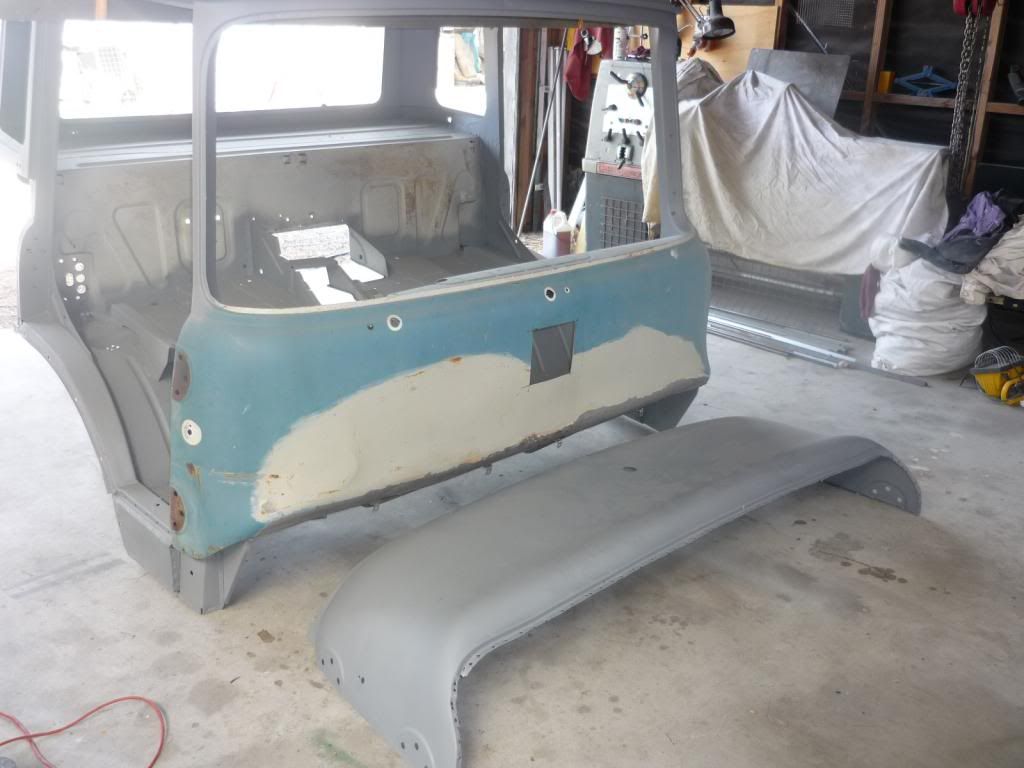
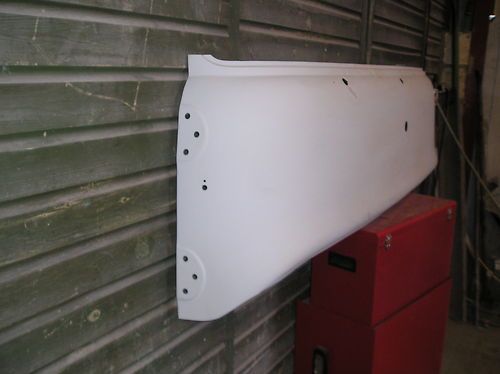
With the blasting nearly complete I thought I would record some of the lessons I have learned.

I used a cheap Chinese pressure pot widely available on eBay and through tool warehouses:

This is the smaller of the two sizes available and is VERY heavy when full. The handles, wheels and frame are barely up to the job and it is difficult to move on any surface other than a smooth floor.

The grit is loaded through the screw cap in the top, a large funnel is needed. It is important to sieve the grit as it is added because if you get bits in the vessel they will be very difficult to get out.

Here are my funnel, ordinary kitchen sieve and an old dustpan for scooping up the grit.

The set comes with ceramic blasting nozzles that wear away very quickly.
As they wear the bore increases which uses more air and slows down the grit so performance starts to suffer almost straight away. The life of a nozzle with the grade B garnet that I was using at 100 psi was about 15 minutes. I used about 8 nozzles for the bare cab: about $120 worth.

So I bit the bullet and bought a professional quality tungsten carbide nozzle
This is a CT-2 nozzle from Clemco Industries. About $150 and after finishing the cab and all the panels it is showing no signs of wear. The -2 refers to the nozzle size in sixteenths of an inch, so this is a 1/8" nozzle and I think, the smallest they do. 

This single phase compressor will not keep a 1/8" nozzle supplied at anything over about 65psi continuous which was not really enough for the work I was doing which meant regular pauses to let the pressure build up.


If I doing a similar job again, a whole vehicle, I would consider hiring a towable diesel compressor and do it all in one weekend.

I built a simple tent out of wood and plastic; another piece of plastic covers the top and open side. This did a good job of containing the mess.


The grit is Grade-B garnet and it leaves a really nice key for the primer.


Sunday 19 January 2014

Back to the cab III

Another job that needed tackling was to repair some rust in the can floor just under the handbrake lever.


Again, the old cab supplied a suitable patch


Drop the 'new' panel in place :


Draw round it and cut out :

Weld and dress with a flap wheel

This was NOT one of my better efforts! I got a bit over enthusiastic with the flap wheel which made the edges of my patch very thin and then I burned through when adding some more weld. It doesn't show in the photo but the underside is a bit gnarly. Lucky it's only in the wheel arch and can easily be hidden.


Thursday 16 January 2014

Back to the cab II

First job in replacing the front panel was to cut the old one off. I didn't need to keep the old panel so I cut it off roughly with the grinder and then removed the remaining flange with a grinder rather than drilling the spot welds. This leaves the remaining flange nice and solid without holes which I hope will make attaching the new one easier.


With the front panel removed I took the opportunity to clean the threads on the captive plates that the door hinges attach to.

It would be much easier to repair or replace a thread now rather than later.

It seemed silly not to blast clean the bits exposed by removing the front: the door pillars and the back of the dashboard.


Sunday 5 January 2014

Back to the cab

With the panels painted I stored them away and fetched the cab back into the workshop.


The next task is to replace the rusty, dented front panel with the one that I cut off the old cab and repaired. The existing panel is rusty all along the lower front edge and it has a dent in one corner that has thrown up a crease. I could not see an easy way to pull the corner out so I decided to replace the whole panel.


The 'new' panel is rust-free but has plenty of repair work so it will take quite a bit of work to make it look reasonable. I wish I had bought this one that was on eBay a few months ago...