Monday, 21 April 2014

That Shrinking Sensation

As I mentioned before, the replacement front panel has a multitude of faults. Under a thick layer of filler was old accident repair work and I have introduced warping when I welded a patch panel in. To try and improve this I bought one of these:


It is a shrinking disc, a flat piece of stainless that goes on a 9" grinder. I discovered it on YouTube and bought it here. The owner, Ray Schelin makes and markets these discs. I bought the disc and a backing plate that makes it more rigid. I did not bother with the DVD that goes with it. Ray was very quick and helpful answering my queries.

I hired a 9" grinder locally. I did try using my 5" grinder but it did not work at all well: the gyroscopic forces generated by the disc spinning at 10,000 rpm attached to a small grinder made it almost unmanageable. The bigger heavier 9" grinder spinning at 6,000 rpm was much easier to use.

Its purpose is to remove high spots by shrinking metal and I can say that is works very well. Using the disc as flat as possible you apply the disc until the high spot gets hot, then quench it with a wet rag. It is much easier to do this job with two people. The effect is amazing; the high spots just disappear before your eyes!


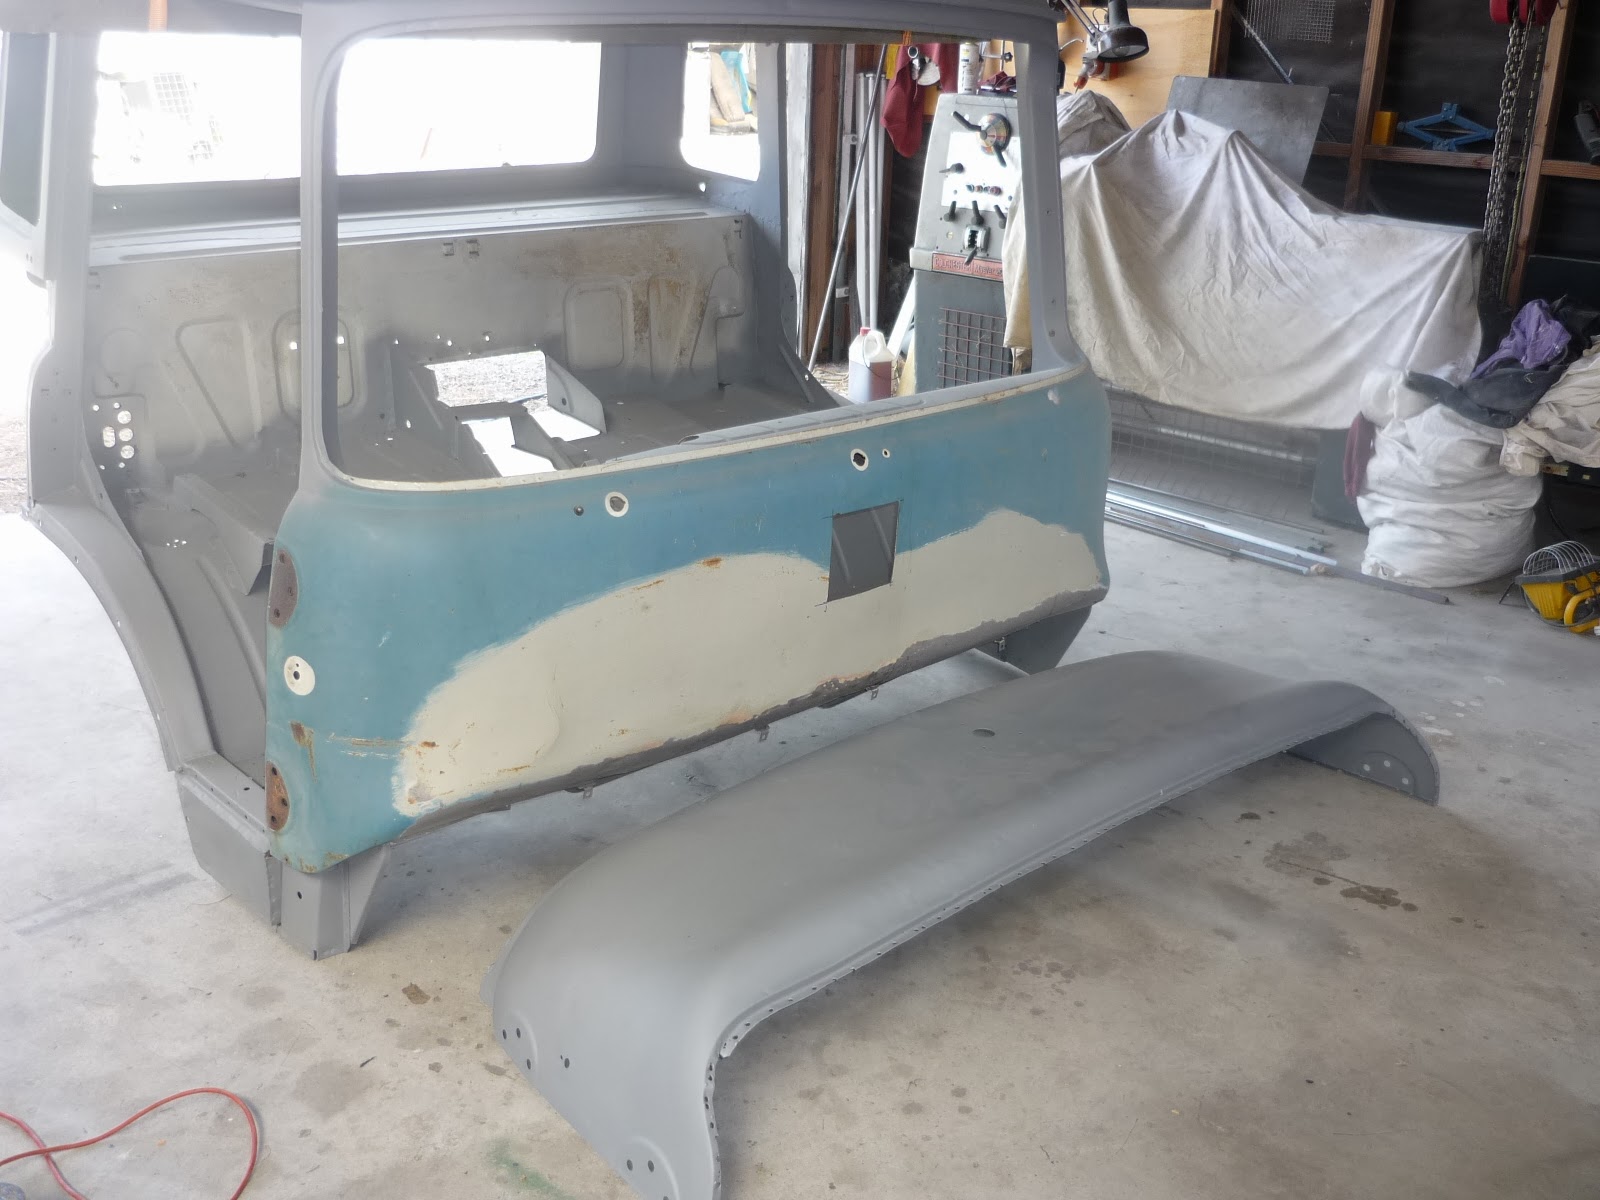
The results really doesn't photograph well but after about 20 minutes work I had achieved a result that I was happy with. It will need skimming with filler and I'm sure with more time and skill you could get it even better but I keep reminding myself that this is just an old truck and making it look like a classic car would be ridiculous.

Thursday, 13 February 2014

Front panel on

Trial fitting the front panel was quite tricky because it has returns on both sides where it wraps into the door shuts. You have to sort of spring it into place.


After a few goes and adjusting the flanges to get a nice close fit I removed the panel, cleaned up all the joining faces with a flap wheel and painted with this stuff:

It's a weld-through primer. I haven't used this before and I can't comment about its corrosion resistance but it seems to do exactly what it claims: it is very easy to weld through.

I clamped it all up with a number of mole-grips and started on the windscreen pillar corners because I reckon that these would be the most obvious if they don't align. The first thing I discovered was...

...lead! - where the original panel joint had been filled. It really doesn't weld very well but after a bit of heating and wiping and welding...

Then just a matter of plug-welding and grinding the 200 odd holes. It took me quite a while to get the technique and it still isn't that pretty but it all gets hidden by the grinder.

And finally it looks like this 


Monday, 10 February 2014

A little more primer

While the front of the can was off I blasted and sprayed the back of the dashboard and the door pillars.


The inside of the roof also had a little surface rust so I gave that a coat too


This I rubbed down by hand because I could not bear the thought of trying to get all the blasting grit out of the return that runs round the top of the inner cab.


Thursday, 30 January 2014

Removing a 'mystery' bracket

There was a bracket on the back of the cab which I had no idea what it was for.


Turns out, (with thanks from the good people on Truck and Bus forum that this where the hydraulic jack was stored.

I don't have the jack and I will probably store one in a side locker on the body so I cut it off.


And by the magic of welding, grinding and painting it was gone

The reason for this butchery was because I can use the space to remount the power steering reservoir in a nice easily accessible place. It was mounted closer to the engine before


Musings : grit blasting

With the blasting nearly complete I thought I would record some of the lessons I have learned.

I used a cheap Chinese pressure pot widely available on eBay and through tool warehouses:

This is the smaller of the two sizes available and is VERY heavy when full. The handles, wheels and frame are barely up to the job and it is difficult to move on any surface other than a smooth floor.

The grit is loaded through the screw cap in the top, a large funnel is needed. It is important to sieve the grit as it is added because if you get bits in the vessel they will be very difficult to get out.

Here are my funnel, ordinary kitchen sieve and an old dustpan for scooping up the grit.

The set comes with ceramic blasting nozzles that wear away very quickly.
As they wear the bore increases which uses more air and slows down the grit so performance starts to suffer almost straight away. The life of a nozzle with the grade B garnet that I was using at 100 psi was about 15 minutes. I used about 8 nozzles for the bare cab: about $120 worth.

So I bit the bullet and bought a professional quality tungsten carbide nozzle
This is a CT-2 nozzle from Clemco Industries. About $150 and after finishing the cab and all the panels it is showing no signs of wear. The -2 refers to the nozzle size in sixteenths of an inch, so this is a 1/8" nozzle and I think, the smallest they do. 

This single phase compressor will not keep a 1/8" nozzle supplied at anything over about 65psi continuous which was not really enough for the work I was doing which meant regular pauses to let the pressure build up.


If I doing a similar job again, a whole vehicle, I would consider hiring a towable diesel compressor and do it all in one weekend.

I built a simple tent out of wood and plastic; another piece of plastic covers the top and open side. This did a good job of containing the mess.


The grit is Grade-B garnet and it leaves a really nice key for the primer.


Sunday, 19 January 2014

Back to the cab III

Another job that needed tackling was to repair some rust in the can floor just under the handbrake lever.


Again, the old cab supplied a suitable patch


Drop the 'new' panel in place :


Draw round it and cut out :

Weld and dress with a flap wheel

This was NOT one of my better efforts! I got a bit over enthusiastic with the flap wheel which made the edges of my patch very thin and then I burned through when adding some more weld. It doesn't show in the photo but the underside is a bit gnarly. Lucky it's only in the wheel arch and can easily be hidden.


Thursday, 16 January 2014

Back to the cab II

First job in replacing the front panel was to cut the old one off. I didn't need to keep the old panel so I cut it off roughly with the grinder and then removed the remaining flange with a grinder rather than drilling the spot welds. This leaves the remaining flange nice and solid without holes which I hope will make attaching the new one easier.


With the front panel removed I took the opportunity to clean the threads on the captive plates that the door hinges attach to.

It would be much easier to repair or replace a thread now rather than later.

It seemed silly not to blast clean the bits exposed by removing the front: the door pillars and the back of the dashboard.