Sunday, 15 June 2014
Cock-up on the colour front
I mentioned in the previous post that there was a big difference between the colour swatch and the online version of the colour I had chosen. I assumed that the printed version would be the more accurate because viewing colours on a computer monitor is very variable; I was WRONG! The online version was much closer so I've ended up with 5L of a colour I really don't like much. What I wanted was somewhere between Royal Blue and Navy Blue, what I got was rather like Fordson Empire Blue (tractor colour). I am hoping that because what I want is darker, it can be retinted.

Monday, 9 June 2014
Choosing a colour
The truck was originally dark blue and I don't see any reason to change that so being an engineer at heart I consulted BS5252 and found a nice shade called 18E53. I am intending to use this topcoat by International. It is a two-pack industrial polyurethane called Interthane 990. It is not an automotive paint but is recommended for offshore structures, chemical plants, pulp and paper mills and the power industry some I'm hoping it will be tough. It is meant to have a high gloss finish and has 'excellent long term durability and recoatability' so it should be just the ticket for an old truck.
The online samples of the colour look nothing like the samples in the swatch book so it will be interesting to see what it actually looks like.
The online samples of the colour look nothing like the samples in the swatch book so it will be interesting to see what it actually looks like.
Monday, 2 June 2014
Sealing seams
The new front panel needs its seams sealed so that moisture does not get between the layers so taking advice from this site I bought some of this:
 As recommended, a chopped-off paint brush works well to apply this thick grey gunge.


The best technique seems to be to apply thickly with the brush, not worrying too much about how even it is but pushing well into the seam. Then using rubber gloves dip you fingers in GP thinners and smooth over the joint; it quickly makes a nice smooth finish.
The picture is not very good but shows the interior seam across the front of the floor pan. I think I went over that again with the thinners and got a better result after the picture was taken.
Wednesday, 14 May 2014
Mostly sanding
This month I have been mostly... sanding!

The front panel is as good as it needs to be and ready for primer. I also blasted the reinforcing beam that goes behind the panel.
I will be interested how it turns out. Years ago I restored a Triumph Spitfire and although I thought I had been very thorough and careful when the topcoat went on it looked terrible. Every repair was plainly visible! We shall see...
The front panel is as good as it needs to be and ready for primer. I also blasted the reinforcing beam that goes behind the panel.
I will be interested how it turns out. Years ago I restored a Triumph Spitfire and although I thought I had been very thorough and careful when the topcoat went on it looked terrible. Every repair was plainly visible! We shall see...
Monday, 21 April 2014
That Shrinking Sensation
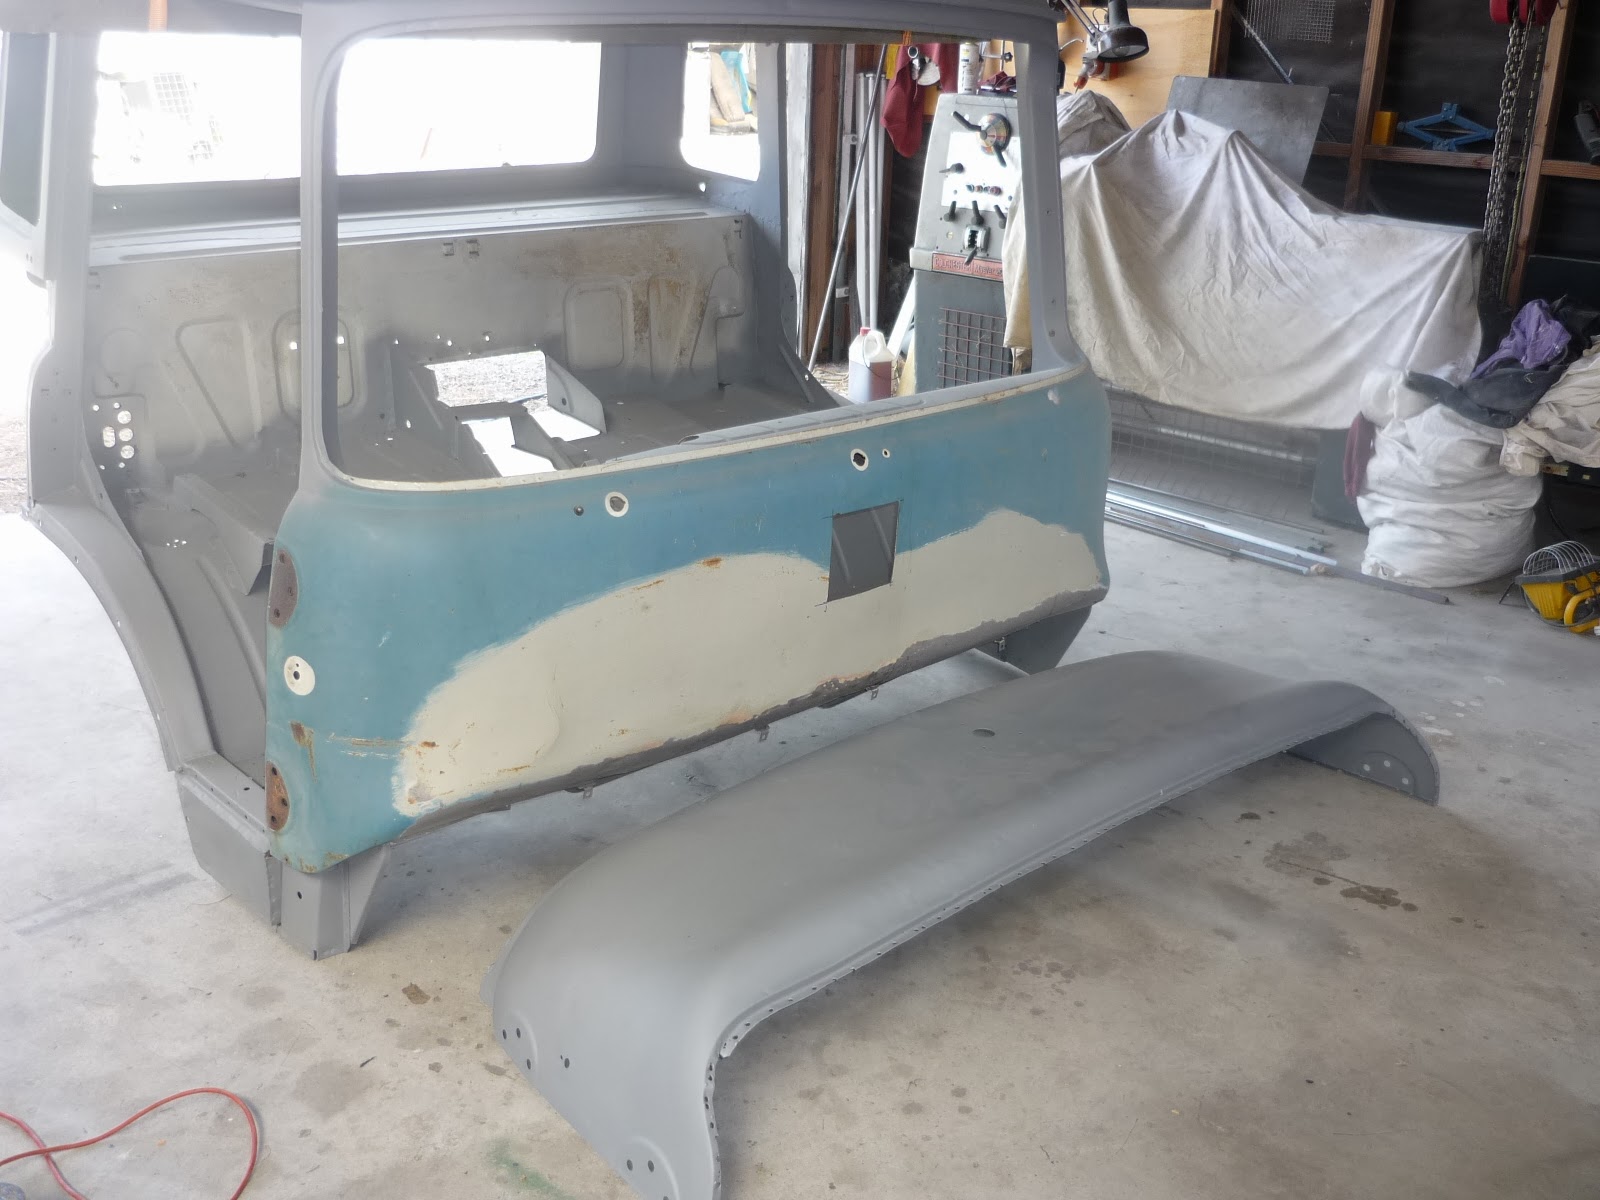
As I mentioned before, the replacement front panel has a multitude of faults. Under a thick layer of filler was old accident repair work and I have introduced warping when I welded a patch panel in. To try and improve this I bought one of these:


It is a shrinking disc, a flat piece of stainless that goes on a 9" grinder. I discovered it on YouTube and bought it here. The owner, Ray Schelin makes and markets these discs. I bought the disc and a backing plate that makes it more rigid. I did not bother with the DVD that goes with it. Ray was very quick and helpful answering my queries.
I hired a 9" grinder locally. I did try using my 5" grinder but it did not work at all well: the gyroscopic forces generated by the disc spinning at 10,000 rpm attached to a small grinder made it almost unmanageable. The bigger heavier 9" grinder spinning at 6,000 rpm was much easier to use.
Its purpose is to remove high spots by shrinking metal and I can say that is works very well. Using the disc as flat as possible you apply the disc until the high spot gets hot, then quench it with a wet rag. It is much easier to do this job with two people. The effect is amazing; the high spots just disappear before your eyes!
The results really doesn't photograph well but after about 20 minutes work I had achieved a result that I was happy with. It will need skimming with filler and I'm sure with more time and skill you could get it even better but I keep reminding myself that this is just an old truck and making it look like a classic car would be ridiculous.
Thursday, 13 February 2014
Front panel on
Trial fitting the front panel was quite tricky because it has returns on both sides where it wraps into the door shuts. You have to sort of spring it into place.


 ...lead! - where the original panel joint had been filled. It really doesn't weld very well but after a bit of heating and wiping and welding...


After a few goes and adjusting the flanges to get a nice close fit I removed the panel, cleaned up all the joining faces with a flap wheel and painted with this stuff:
It's a weld-through primer. I haven't used this before and I can't comment about its corrosion resistance but it seems to do exactly what it claims: it is very easy to weld through.
I clamped it all up with a number of mole-grips and started on the windscreen pillar corners because I reckon that these would be the most obvious if they don't align. The first thing I discovered was...
...lead! - where the original panel joint had been filled. It really doesn't weld very well but after a bit of heating and wiping and welding...
Then just a matter of plug-welding and grinding the 200 odd holes. It took me quite a while to get the technique and it still isn't that pretty but it all gets hidden by the grinder.
And finally it looks like this
Monday, 10 February 2014
A little more primer
While the front of the can was off I blasted and sprayed the back of the dashboard and the door pillars.


The inside of the roof also had a little surface rust so I gave that a coat too
This I rubbed down by hand because I could not bear the thought of trying to get all the blasting grit out of the return that runs round the top of the inner cab.
Subscribe to:
Posts (Atom)