I have started to replace the air pipes. The first section runs from the compressor to the small condensate tank behind the front bumper.
The pipe from the compressor is deliberately long; it runs all the way round the back of the engine, through a hose to the offside chassis rail and back across the front cross-member. This is to allow the air to cool as much as possible before it reaches the tank. I reused the first three metres of so of steel pipe (with a coat of paint) because this can easily withstand the heat. Nylon pipe would not be suitable for this.
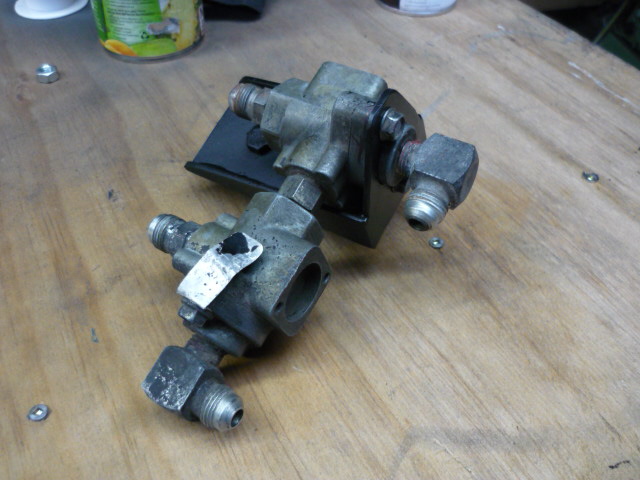
The steel pipe ends at a non-return valve behind the front cross-member.
I replaced the valve innards
The original steel pipe to the tank looks like this
Somewhat rusty and because I had moved the pipework to clear the new clutch master cylinder it didn't fit any more. So I replaced it with 5/8" nylon.
The ends used a 3/4" UNF thread and sealed with brass olives. I was able to reuse the tube nuts and just added new olives and an inner sleeve to support the nylon
I also refitted the safety valve and a schrader valve which I assume allows the system to be pressurised externally; that could be useful for leak testing.
Finally a nice new automatic drain valve. The old one clearly was not working because the tank was half full of water when I took it off.