The panel that forms the whole front of the cab below the windscreen is the worst part of my new cab. It is dented on one corner, repaired in the middle and rusted along the lower edge. For this reason I plan to replace it with the panel from the old cab which seemed to be better.
Removing it was no mean task with nearly 200 spot welds to drill out!
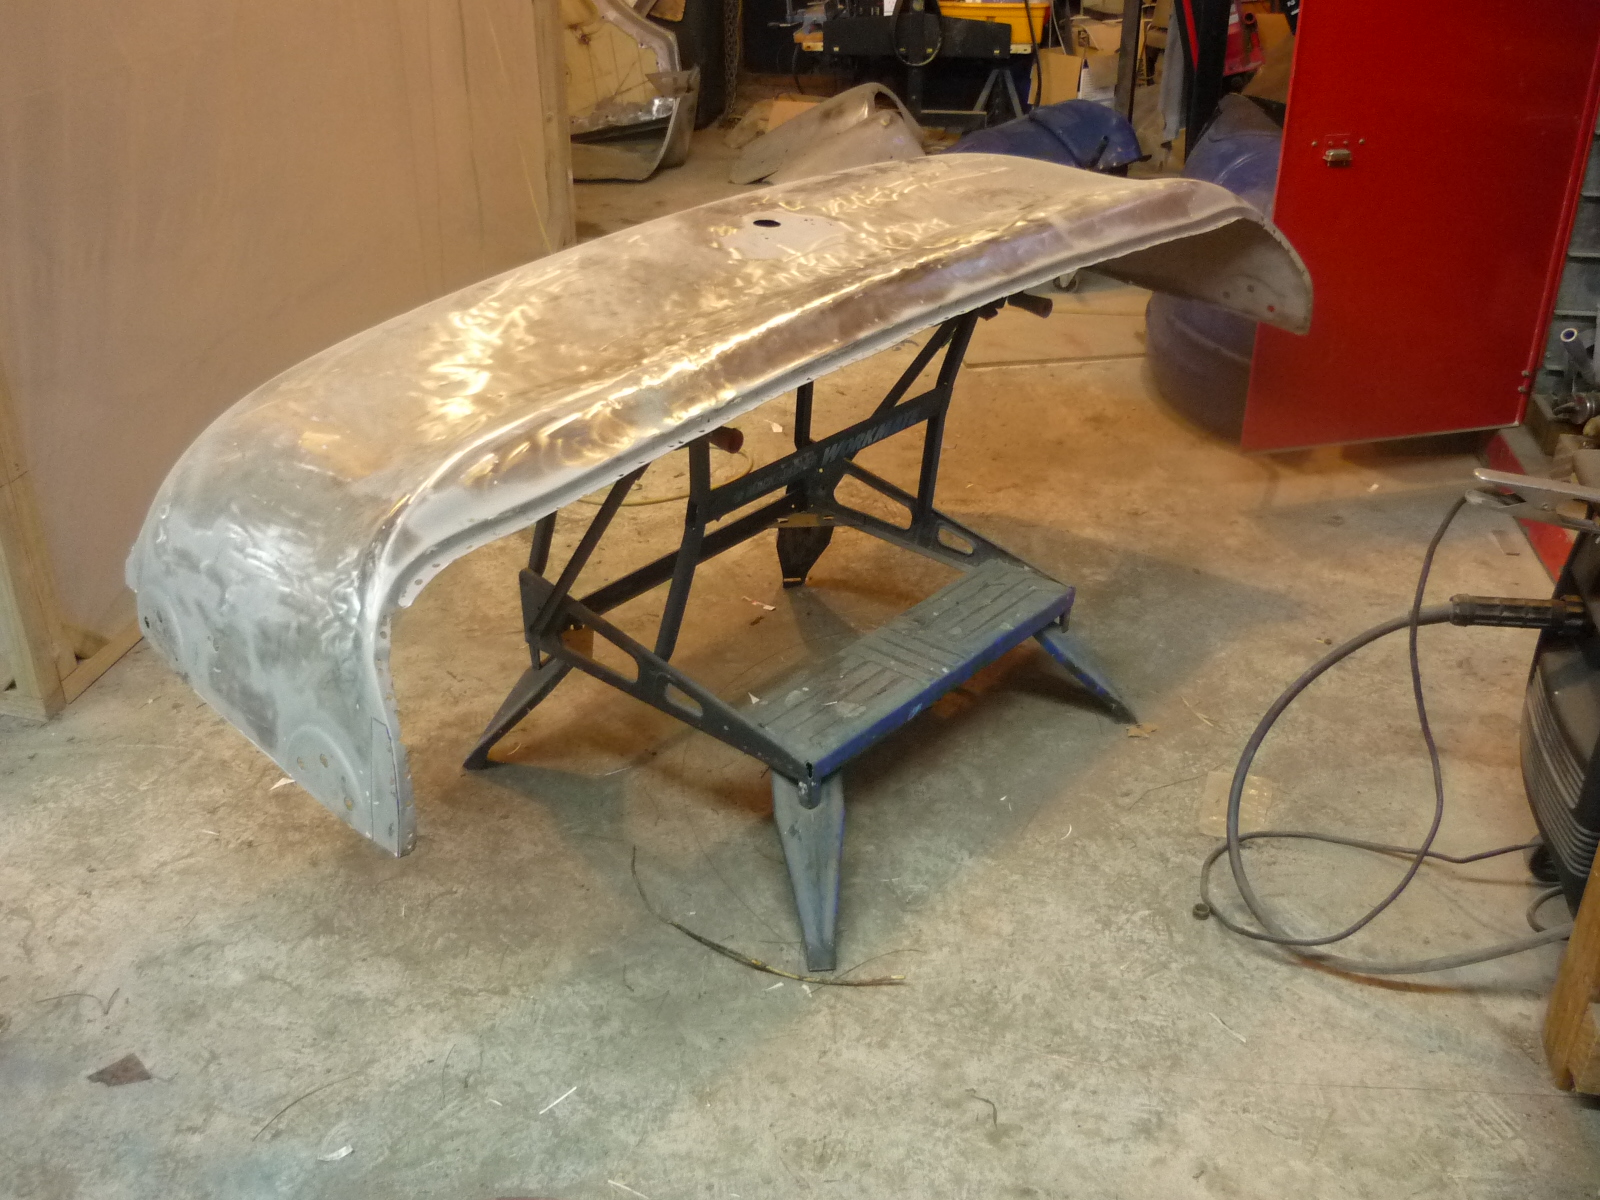
The panel is quite solid but after stripping I found that quite a bit of repair work lurked under filler. I still think that it is better than the alternative.
Both the front lower corners have small rusty areas.
 |
| Rust holes with outline for patch panel drawn. |
Cut out for patch and new metal welded in. If you have not discovered flap wheels (on a small grinder) for dressing welds they are simply brilliant: far better and quicker than a grind wheel.
The other rust area is in the middle where the Bedford badge bolts on. There is a moisture trap behind the badge where a reinforcing bar is attached.
For this I cut a repair section from the other cab, bolted it on using the badge mounting bolts to align it and then drew around it.
 Cut the rusted section out and use the magnets to align the patch.
 Spot weld in place
Finish weld and dress with a flap wheel. I welded small sections and cooled the panel with the airline between each but there is still a distinct warp in the panel caused by the welding. I spoke to a local business who restore classic cars and their guy seemed to think this not a great deal. He said it was bound to do that and it would be simple enough to fix by shrinking but best to leave that until it is attached to the cab because the panel is quite floppy on its own.


